Words to Live By BOM | Month 9

Written by: Jenni Wingenroth
Welcome back friends! We’ve made it to the home stretch! It is Month 9 - the last month of the Words to Live By BOM! My name is Jenni Wingenroth of Nollie Bean and I’m back to wrap up this quilt with you!
Let’s take a quick moment to take note of how much you’ve accomplished with this quilt. Did you learn a new skill or sew up something you haven’t sewn before? Is there a particular block that was your favorite?
There’s a special place in my heart for half square triangles, and working on block 12 with you last month might be my favorite.
This month we’re making our last two blocks - which are essentially the centerpiece of this quilt - and then sewing it all up!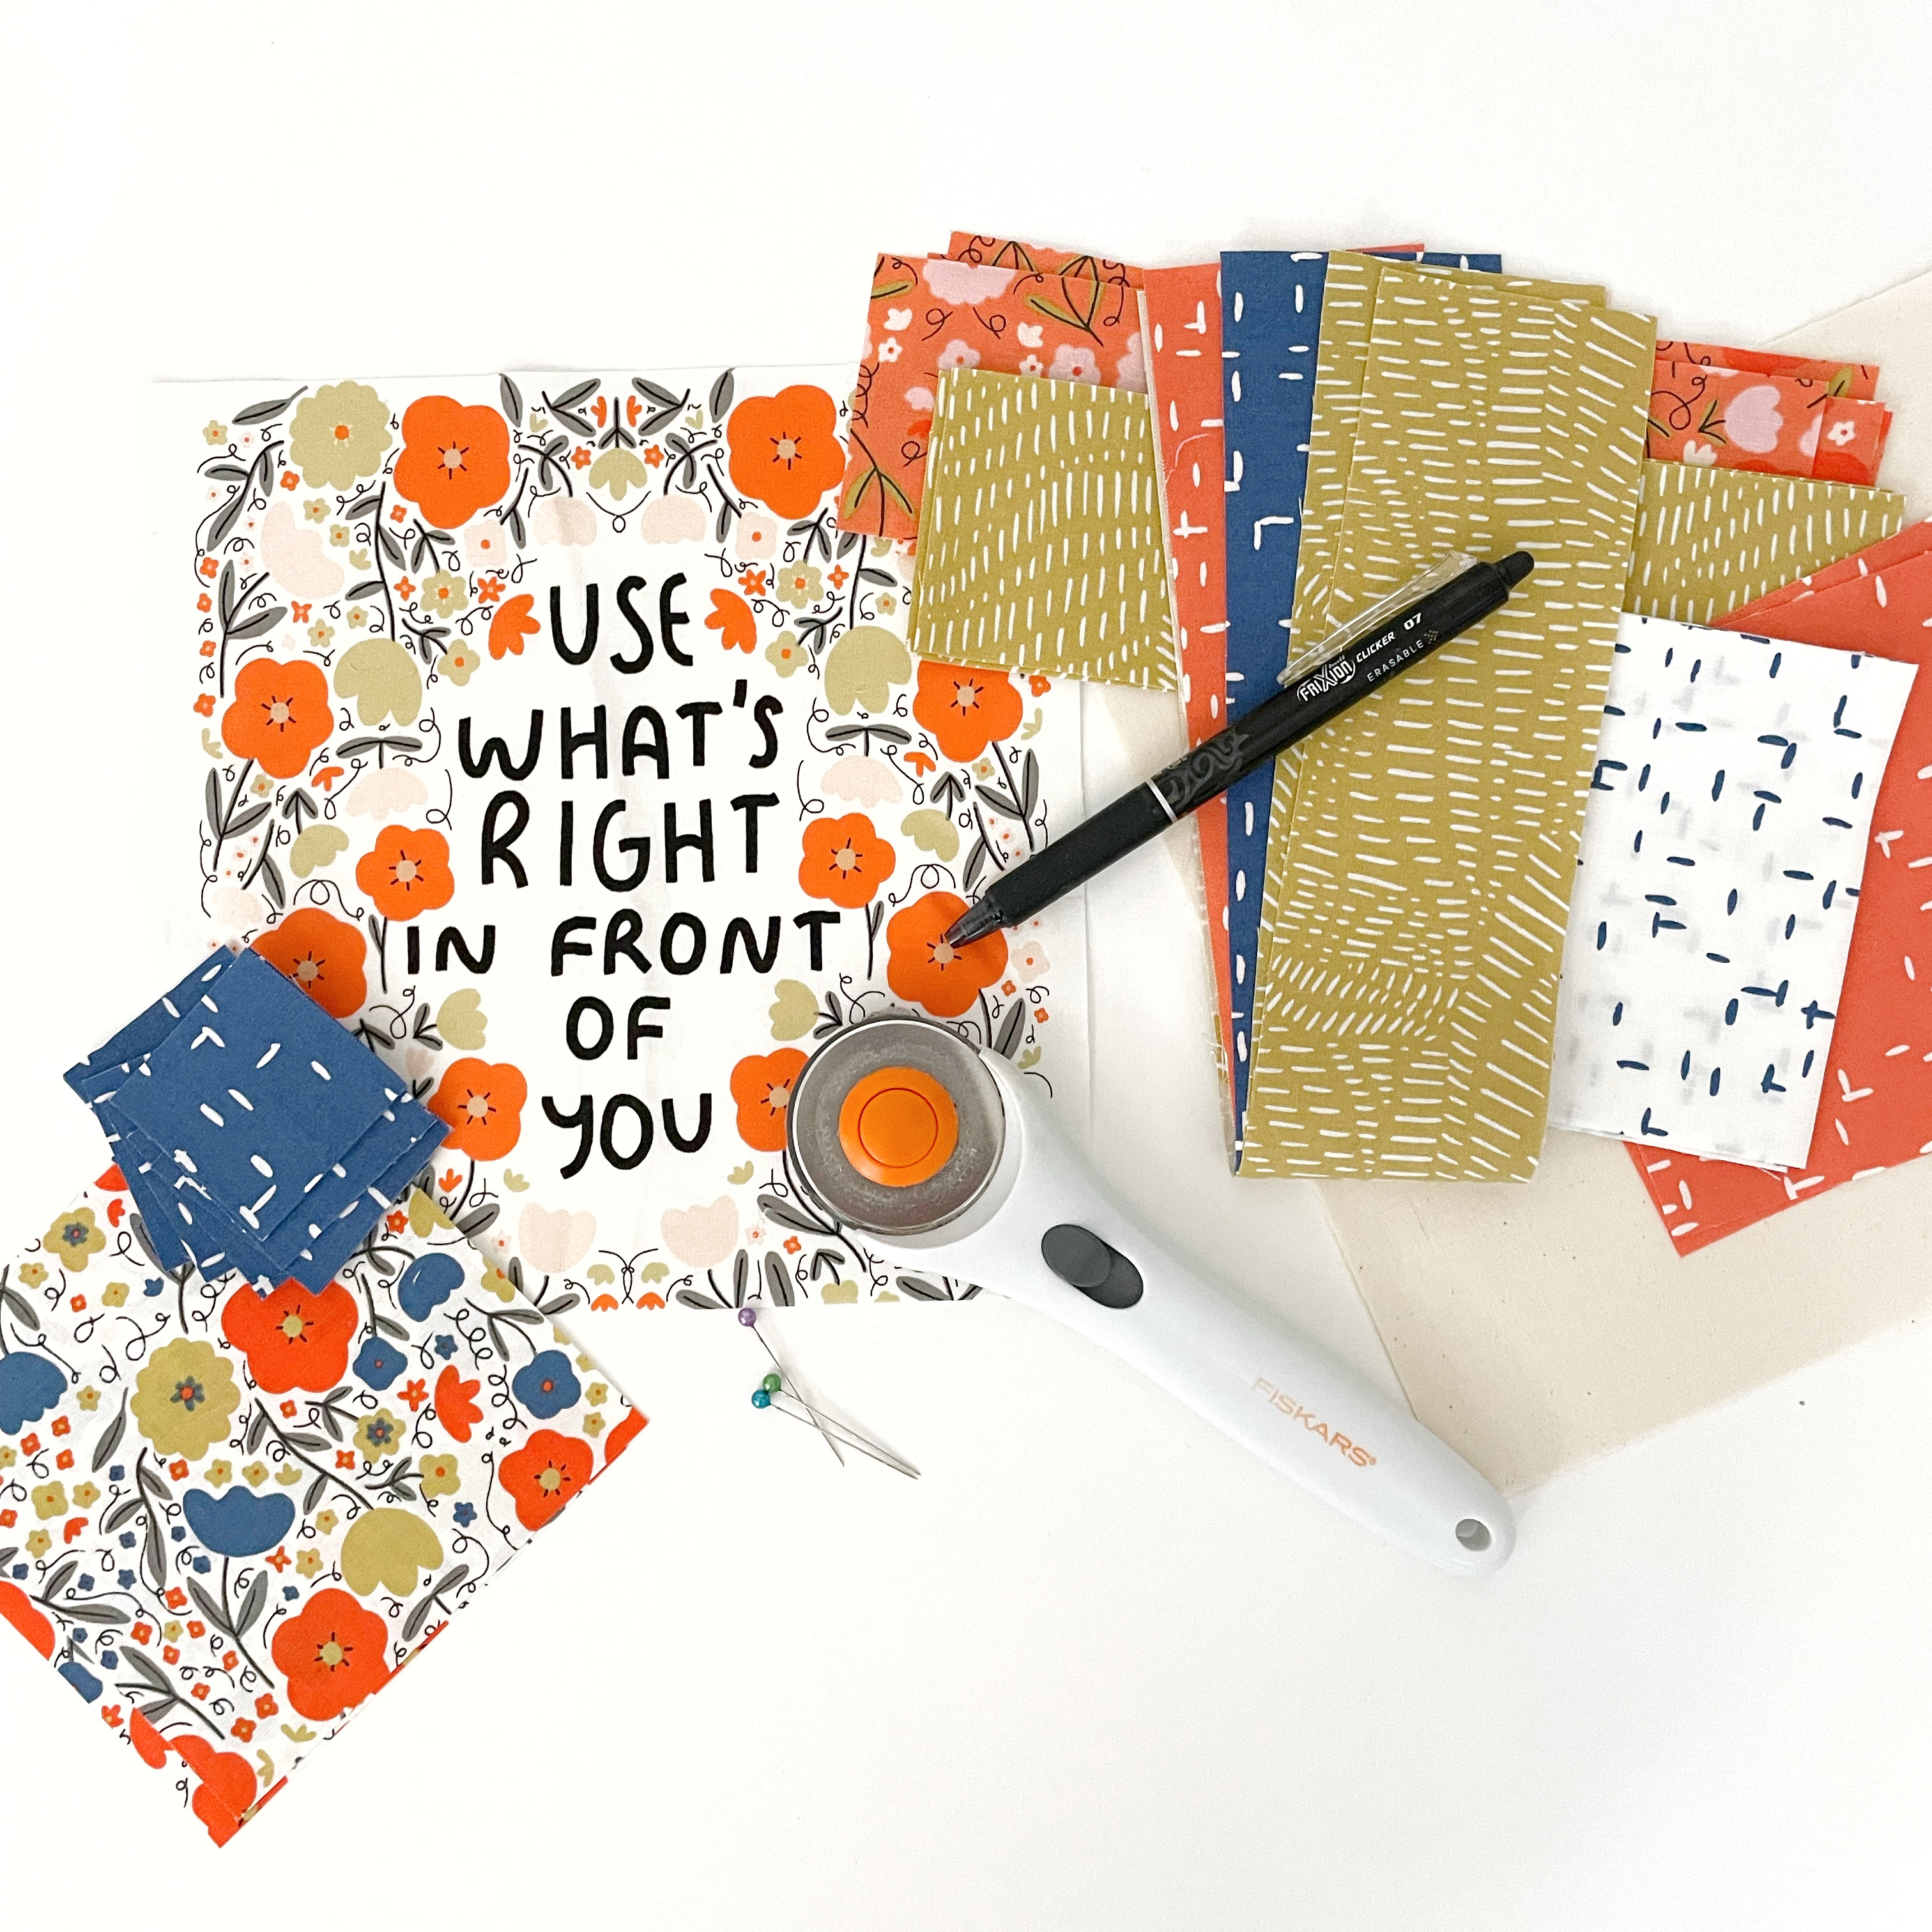 Once you’ve cut out all of your pieces using the instructions at the top of page 16, let’s jump right in with Block 15.
For Block 15, we’ll be making four large and colorful flying geese. Begin by placing your 2 3/8” x 15 1/2” strips of Fabrics J, K, and M on your workstation in the layout shown on page 16. Then, with right sides together and use a 1/4” seam, sew the strips together and repeat until you have four identical sets.
Then, grab your trusty tool that you use to mark fabrics - I prefer to use a frixion pen - and mark a diagonal line on the wrong side of all eight 8” Fabric A squares.
Following the Flying Geese Unit Assembly Guide on Page 2 of your pattern, make your flying geese. Make sure to pay attention to your fabric placement when sewing the background pieces. After you sew on the marked line, use a ruler to measure and trim 1/4” from the stitched line.
 BONUS Half Square Triangles: These flying geese are big!! And using the stitch and flip method of construction allows for some bonus half square triangles that can be used in a future project! When trimming off the top corners in the step above, keep your triangle shaped scraps together and then sew together along the long edge with a 1/4” seam and press. Viola…a lovely pieced half square triangle! You will end up with eight in total after you make your flying geese!
 Complete these steps until you have four flying geese and Block 15 is complete. :)
And on to Block 16 — our final block! We’ll be sewing with Panel 10. Panel 10 is another favorite that includes those bright and happy flowers I love so much with the phrase “Use what’s right in front of you”. This is a wonderful reminder for all of my fellow over-thinkers! This block also features some half square triangles and flying geese with some thoughtfully placed snowballed corners that frame our panel.
Following along with step 5 on Page 16, create four half square triangles using Fabrics E and J and then trim all four to 4 1/4” squares. Then, take four 1 3/4” Fabric M squares and use the Stitch and Flip Assembly Guide on Page 2 to snowball the coral colored corners (say that 5 times fast!!) of your half square triangles. Okay, I must make a confession here. I really took the spirit of this block to heart here and decided to use what was right in front of me! I LOVE the coral colored floral print of this collection (Fabric B) and had enough left over so I made a swap! I swapped out Fabric B or Fabric J in step 8 and it brings me a lot of joy!
And we’re pros now with these pieced flying geese, right? So, after we mark diagonal lines on the wrong side of the Fabric Q square, we’re going to pay attention to our fabric placement on our pieced rectangles, making sure that Fabric K will be on the bottom. Psst….you can also make some bonus half square triangle units while you’re making these flying geese as well!
Once all of your flying geese are completed, we’re going to take our remaining eight Fabric M squares and stitch and flip to snowball off the bottom corners of our flying geese. So now that we have all of our components created, it's time to construct our final block. The finish line is so close now…you can practically hear it! Yea, your quilt is amazing! OMG, you made this! It’s so cozy and awesome!
Okay, before I get too carried away, let’s follow steps 14 and 15 to complete our final block. Arrange your units around Panel 10, then sew your top, middle, and bottom rows together. When lining up your pieces to sew, line up your small blue squares and then pin - this will help you get those points to line up!
Congratulations!!! All 16 blocks are made and ready to be sewn together.
Arrange all of your blocks as shown in the diagram on Page 18 of your pattern. Oh, and remember those mirrored sashing pieces we made during Month 8 - pay careful attention to make sure they mirror one another in your final layout. For example, on your top row, sashing pieces are on either side of the sun block we made during Month 5. You will want those sashing pieces to mirror one another so that Fabrics J and I are along the top edge of your quilt.
Once you’ve double checked that your layout is accurate, sew your quilt top together using 1/4” seams in three horizontal rows, and then sew the rows together. The arrows on the diagrams on Page 18 indicate the direction to press your seams.
And, just like that your beautiful quilt top is complete and its time to decide how you’d like to quilt it!
Congratulations, I’m so excited to have shared part of this journey with you and can’t wait to see what other quilty creations you make. So, until next time remember that when life gives you lemons….make a quilt…or something like that! Happy sewing!
That's a wrap! Find us on Instagram @gingibermakes. Share your work with the hashtags #gingiberbom and #wordstolivebyquilt so that we can follow along with your progress!
Questions? Contact us at [email protected]

Stacie Bloomfield
Author
My name is Stacie Bloomfield! I am the owner and illustrator of Gingiber. I have been an illustrator for 11 years and have successfully sold my artwork across several categories such as art licensing, wholesale, direct to customer sales, direct downloads, books, teaching, and more. I cannot wait to teach you how to do the same!

FREE GUIDE!
We've gathered top secret tips from industry experts with their PERSONAL ADVICE for finding your creative voice and for growing your creative business. YOU DON'T WANT TO MISS THIS!
Recent Posts