Words To Live By BOM | Month 2

Written by: Natalie Crabtree
Welcome to Month 2 of the Words to Live By BOM! Once again, I am Natalie Crabtree, designer and writer of this BOM. It’s been my pleasure to work with Stacie and collaborate with her team on this project.

First and foremost, I apologize for my tardiness on this Month 2 blog. What can I say? Life, work, children…..all the above. But I am here to say that I look forward to watching your stack of blocks grow as you sew along with us. We value you, your business, and we value the community that you are taking part of.
To make it up to you, how does a free project sound? I absolutely LOVED making and designing Block 3. Something about the rotation and movement in that block made me think of evolving, growing and changing. Included in the Month 3 blog will be a free PDF download pattern that will help you create a whole quilt using Block 3! See the quilt image below. It will include everything you need to create this lovely, scrappy quilt including yardage requirements, piecing instructions and quilt assembly instructions.

I designed Month 2 of the BOM to be simple, using mainly stitch and flip methods to achieve the block shapes. Generally, I find that stitch and flip methods (SNF) gives better accuracy and eliminates the need for cutting tiny triangles!
I wanted to create an arrow block that symbolized evolving and changing, which is how Block 3 was born. I think that theme is ever present in the current climate, particularly in the quilting community. From the way we shop for fabrics (Can you say Facebook Live Sales?), to the way that guilds and classes have communicated through this time (“Can everyone mute their computers while the lecturer is speaking on the Zoom call?”), quilters have rolled with the punches, changed and evolved with the industry.
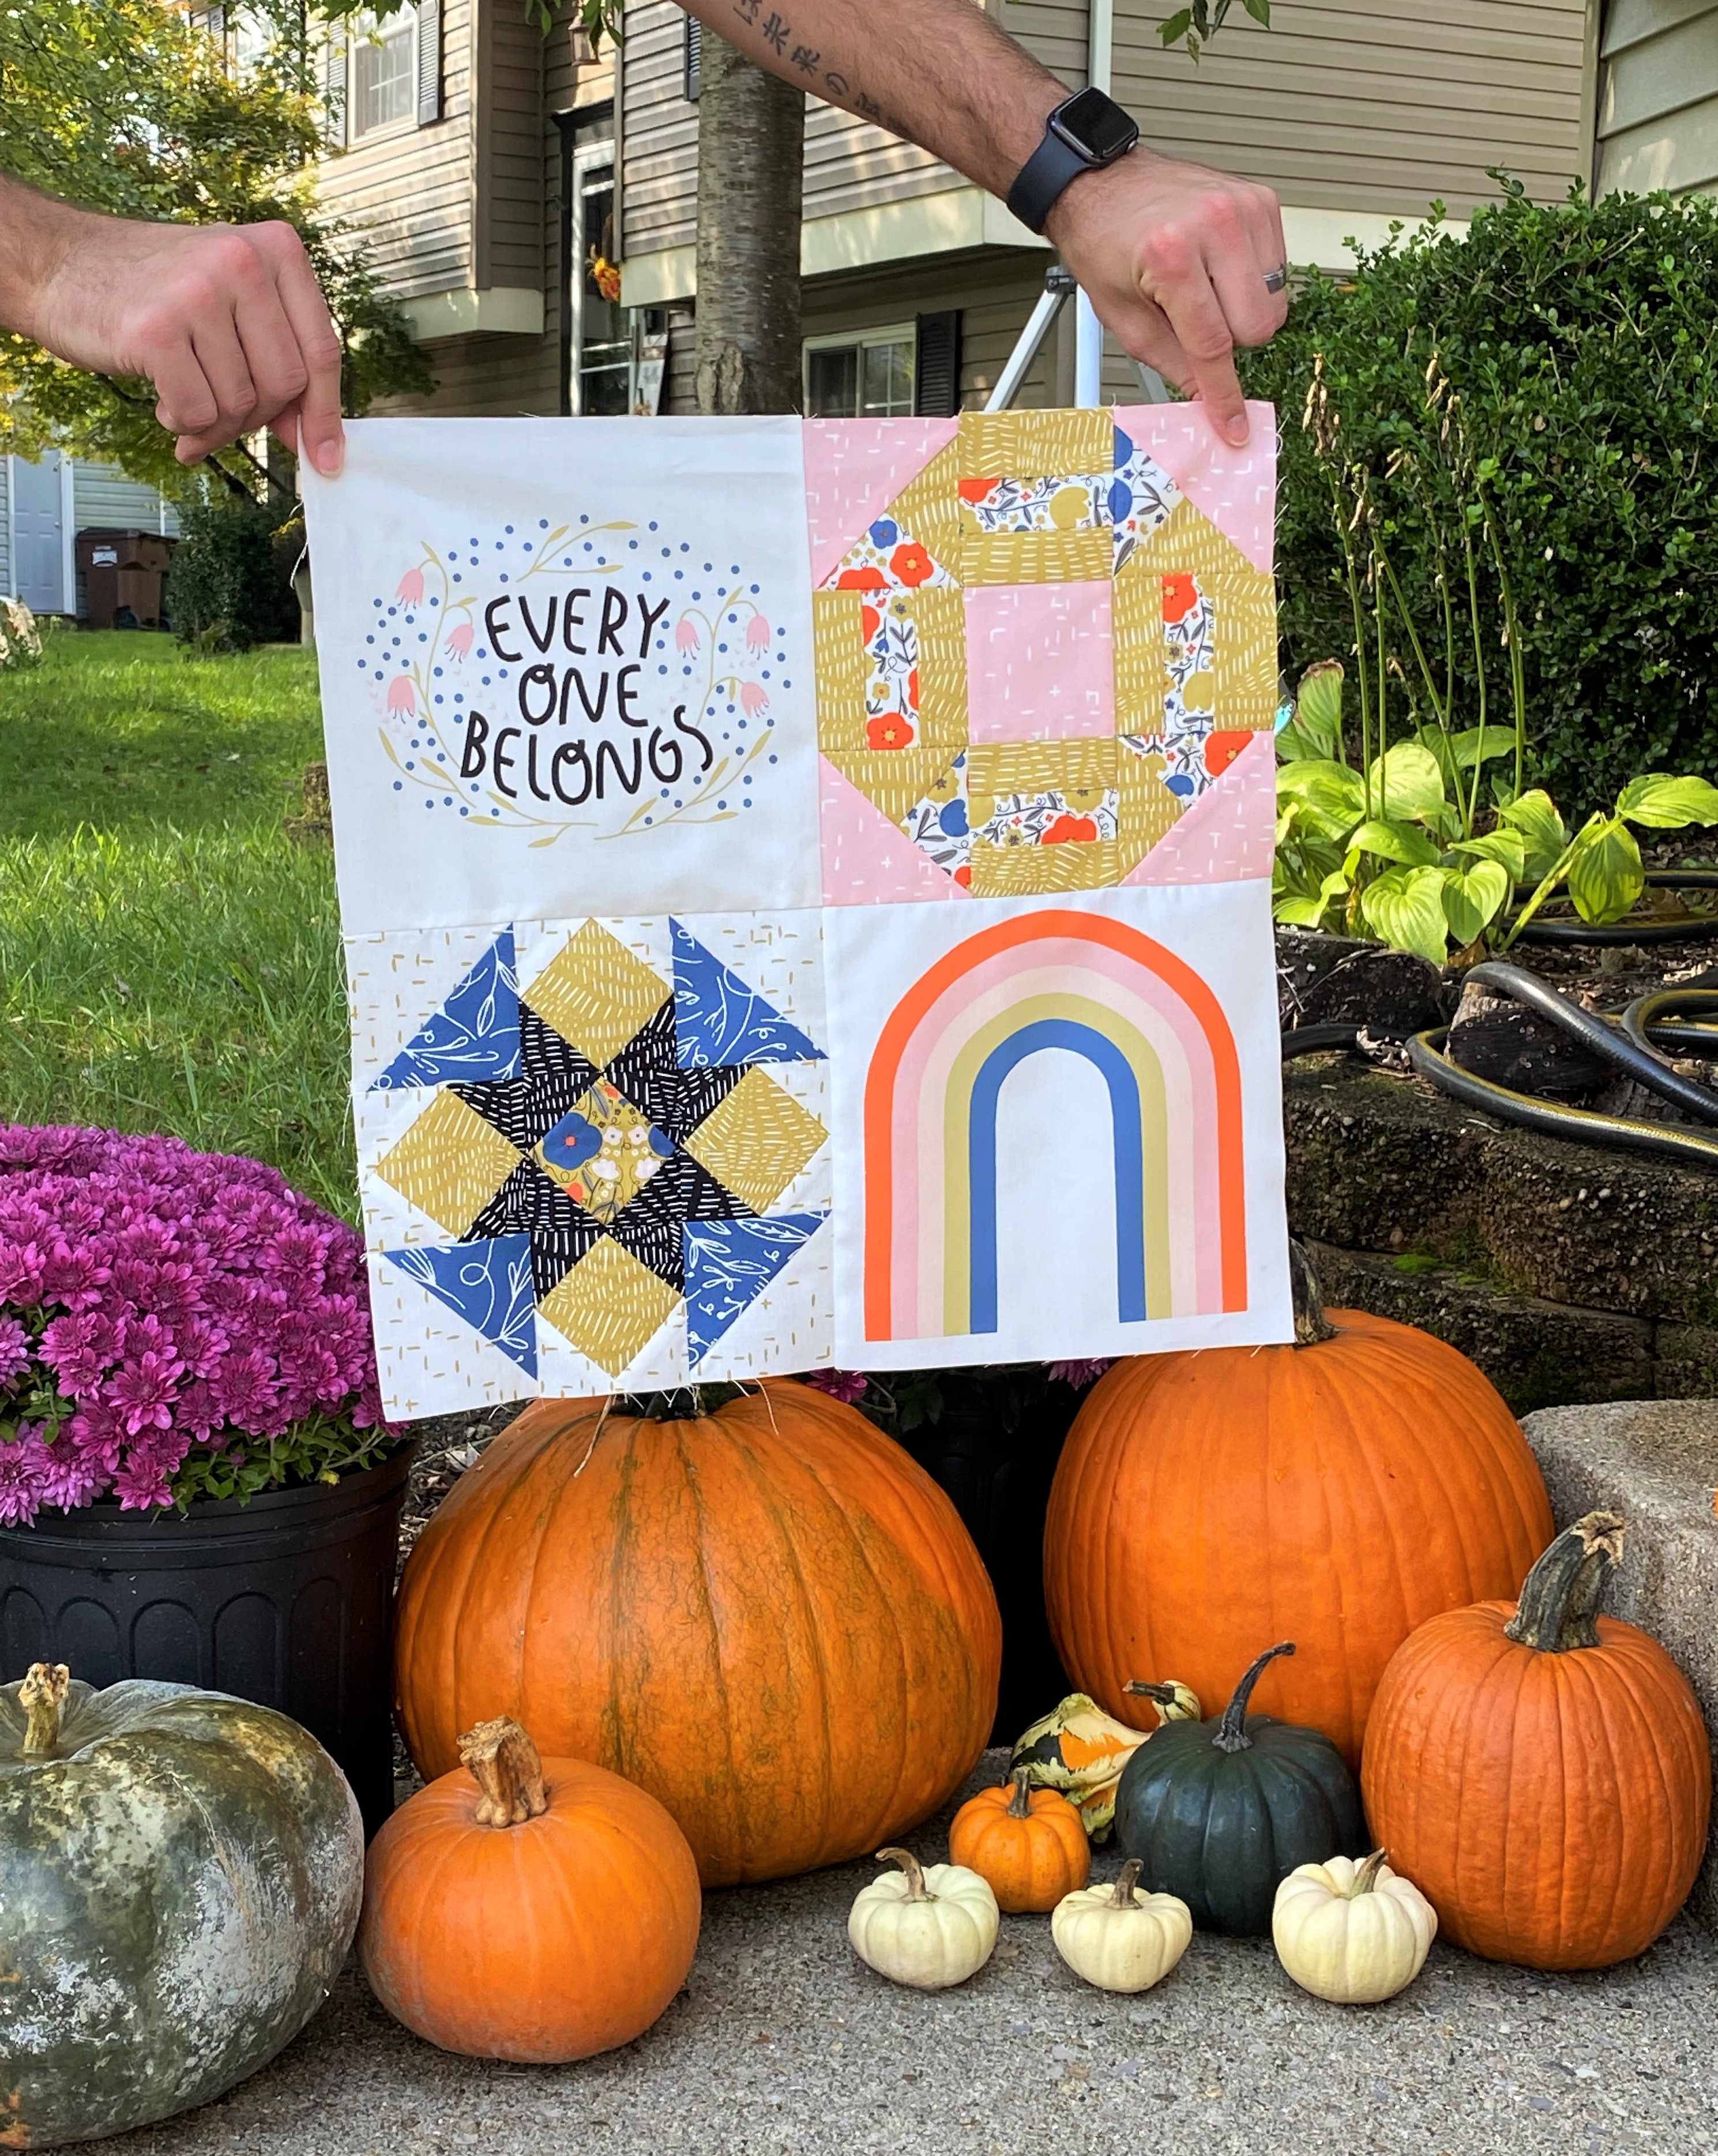
For Block 4 I wanted to create a pointy, striking, star-within-a-star block! The lovely contrast of white, gold and black are particularly modern and fun!

I loved cutting the pieces required for the Month 2 blog! They were easy to cut and organize. Isn’t it nice to cut month by month, instead of cutting for a whole quilt? It makes the cutting process much less daunting, especially with the wide range of fabrics used in this quilt.

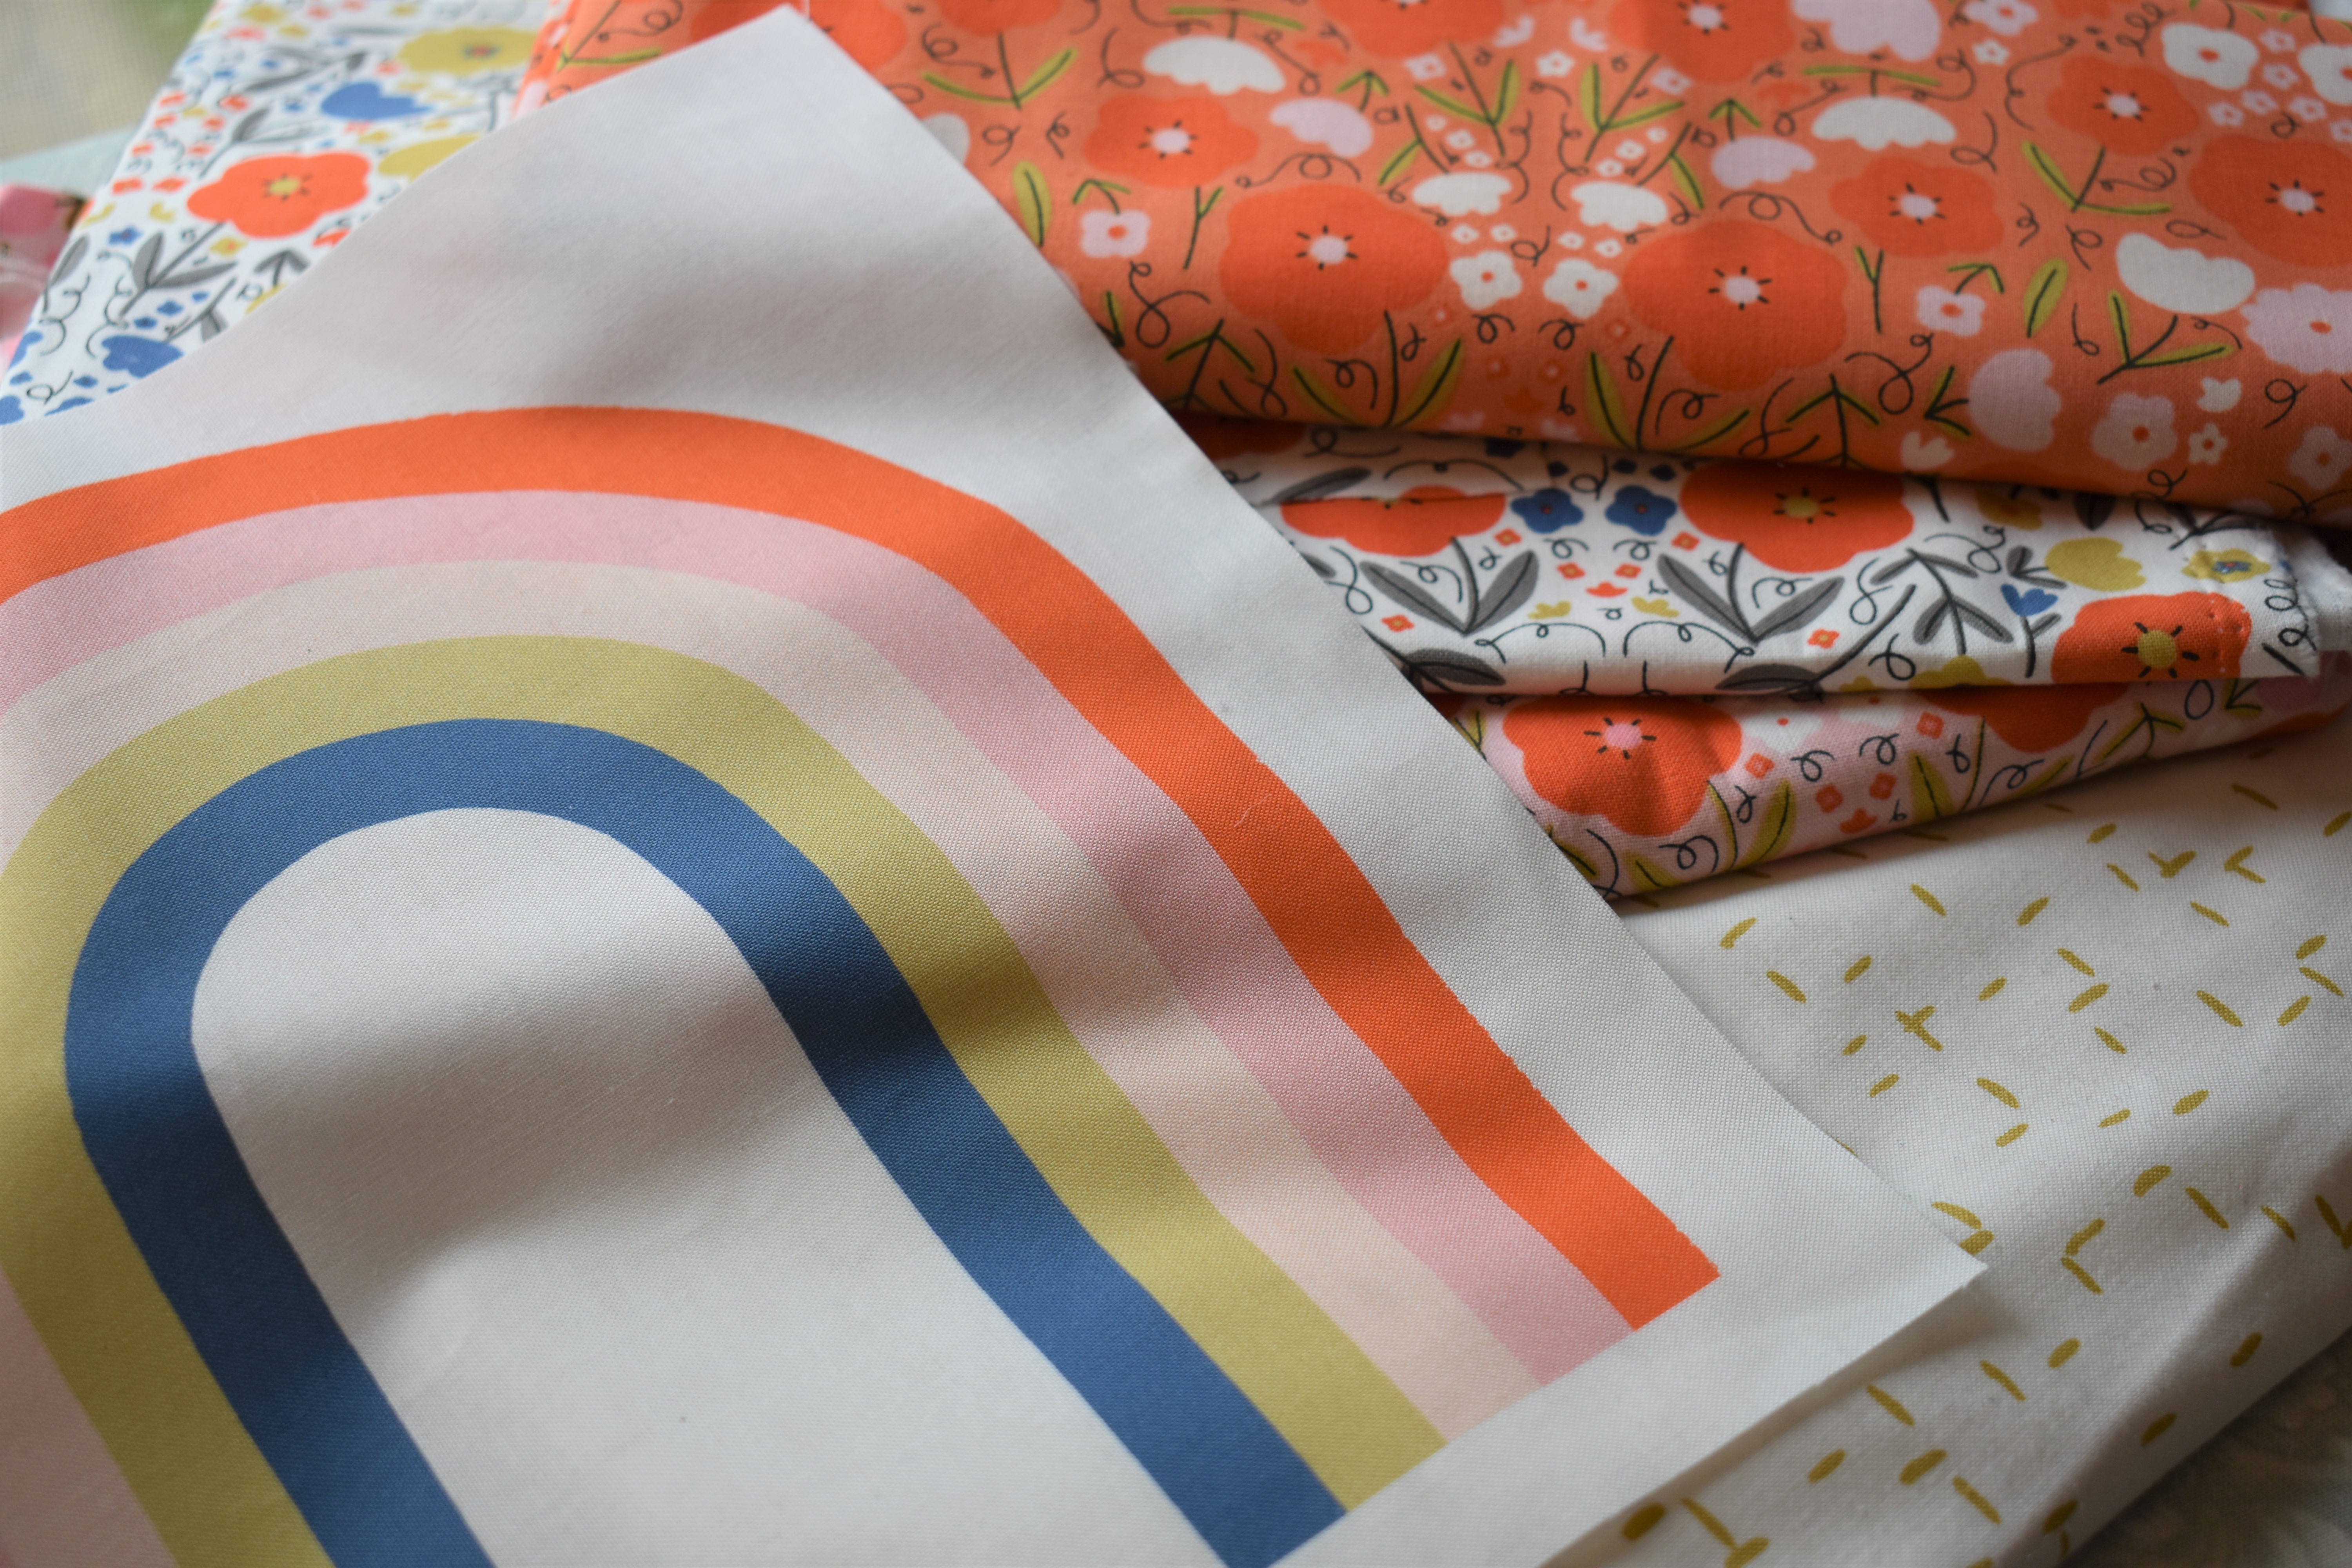
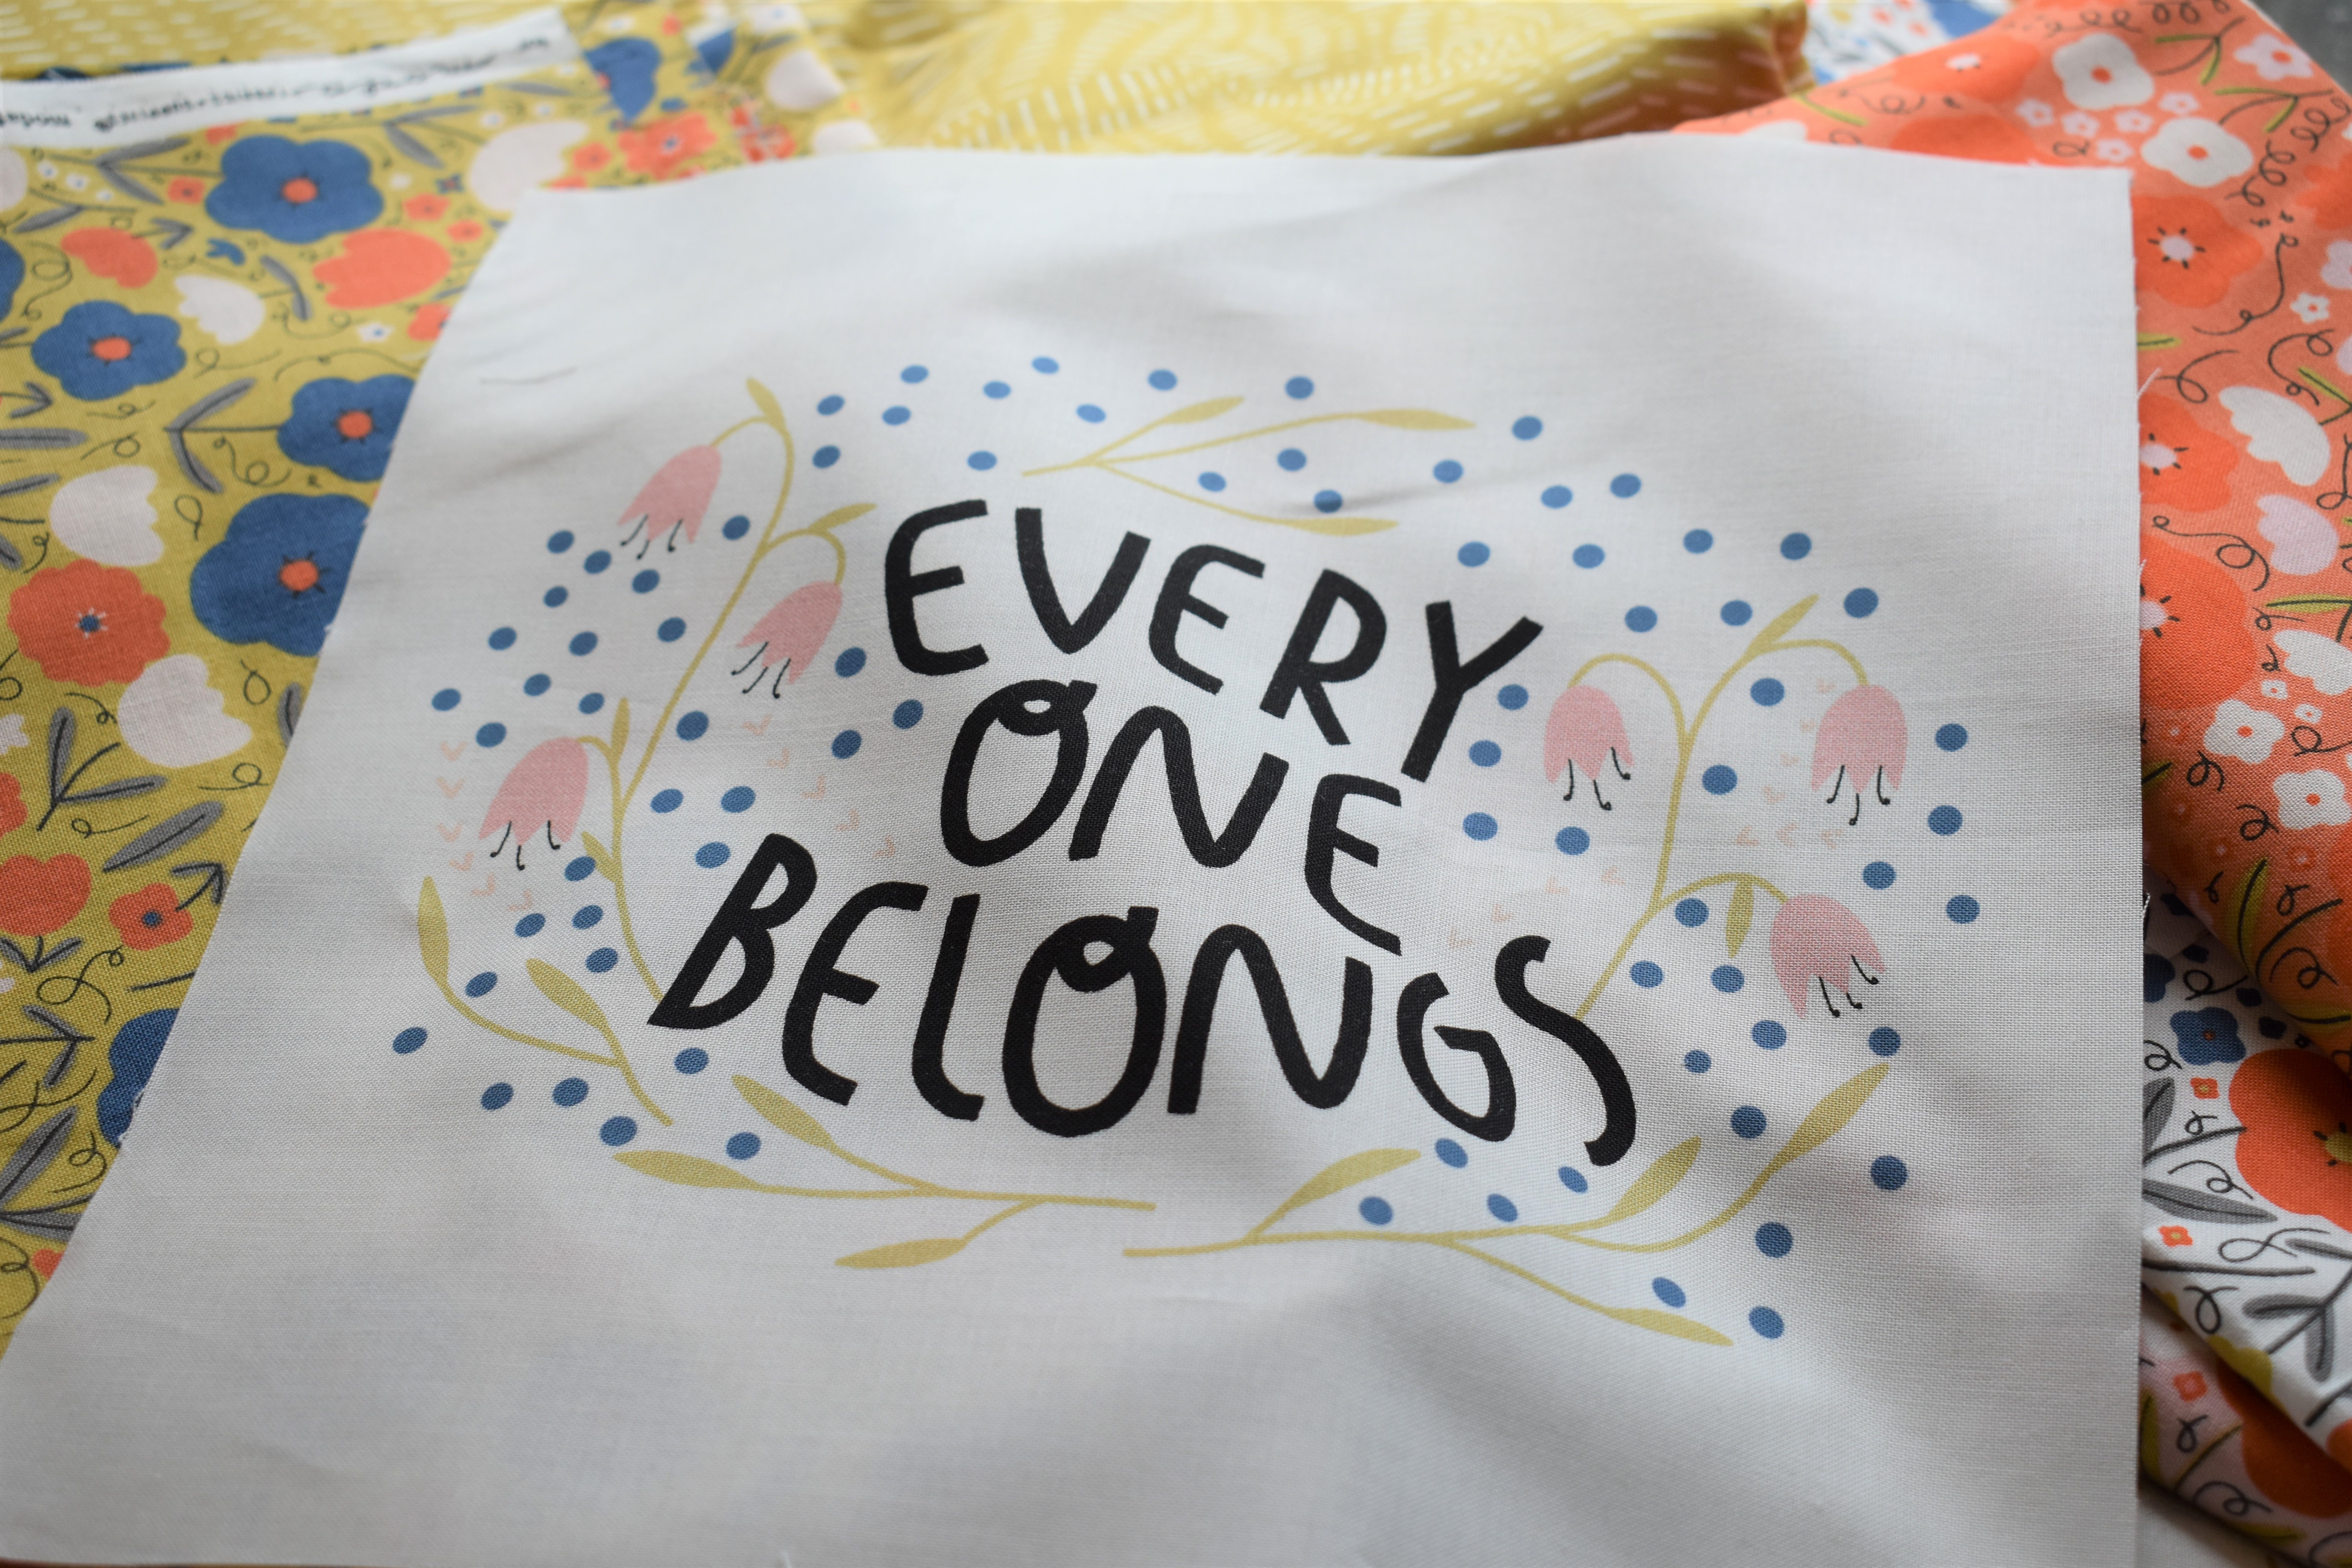
Can we talk about the incredible panels used in Month 2? The non-traditional tones used in the rainbow panel are phenomenal! It’s such a simple panel, but pops with the vibrant coral and cool blue tones. “Every One Belongs” is such a lovely sentiment for quilters and the art community as a whole. Everyone has their own ideas, creative ideas and personal style. Celebrating and embracing the ways in which we are different is so important for a strong artistic community! The tiny light pink floral details in the “Every One Belongs” panel don’t go unnoticed.

To create Month 2, I gathered my favorite tools:
• Pins - These are Hiroshima pins, which are created in Hiroshima, Japan. They are available online, or at your LQS. Use the pins that best work for you!
• Frixon Pen for drawing diagonal lines on the wrong side of fabric.
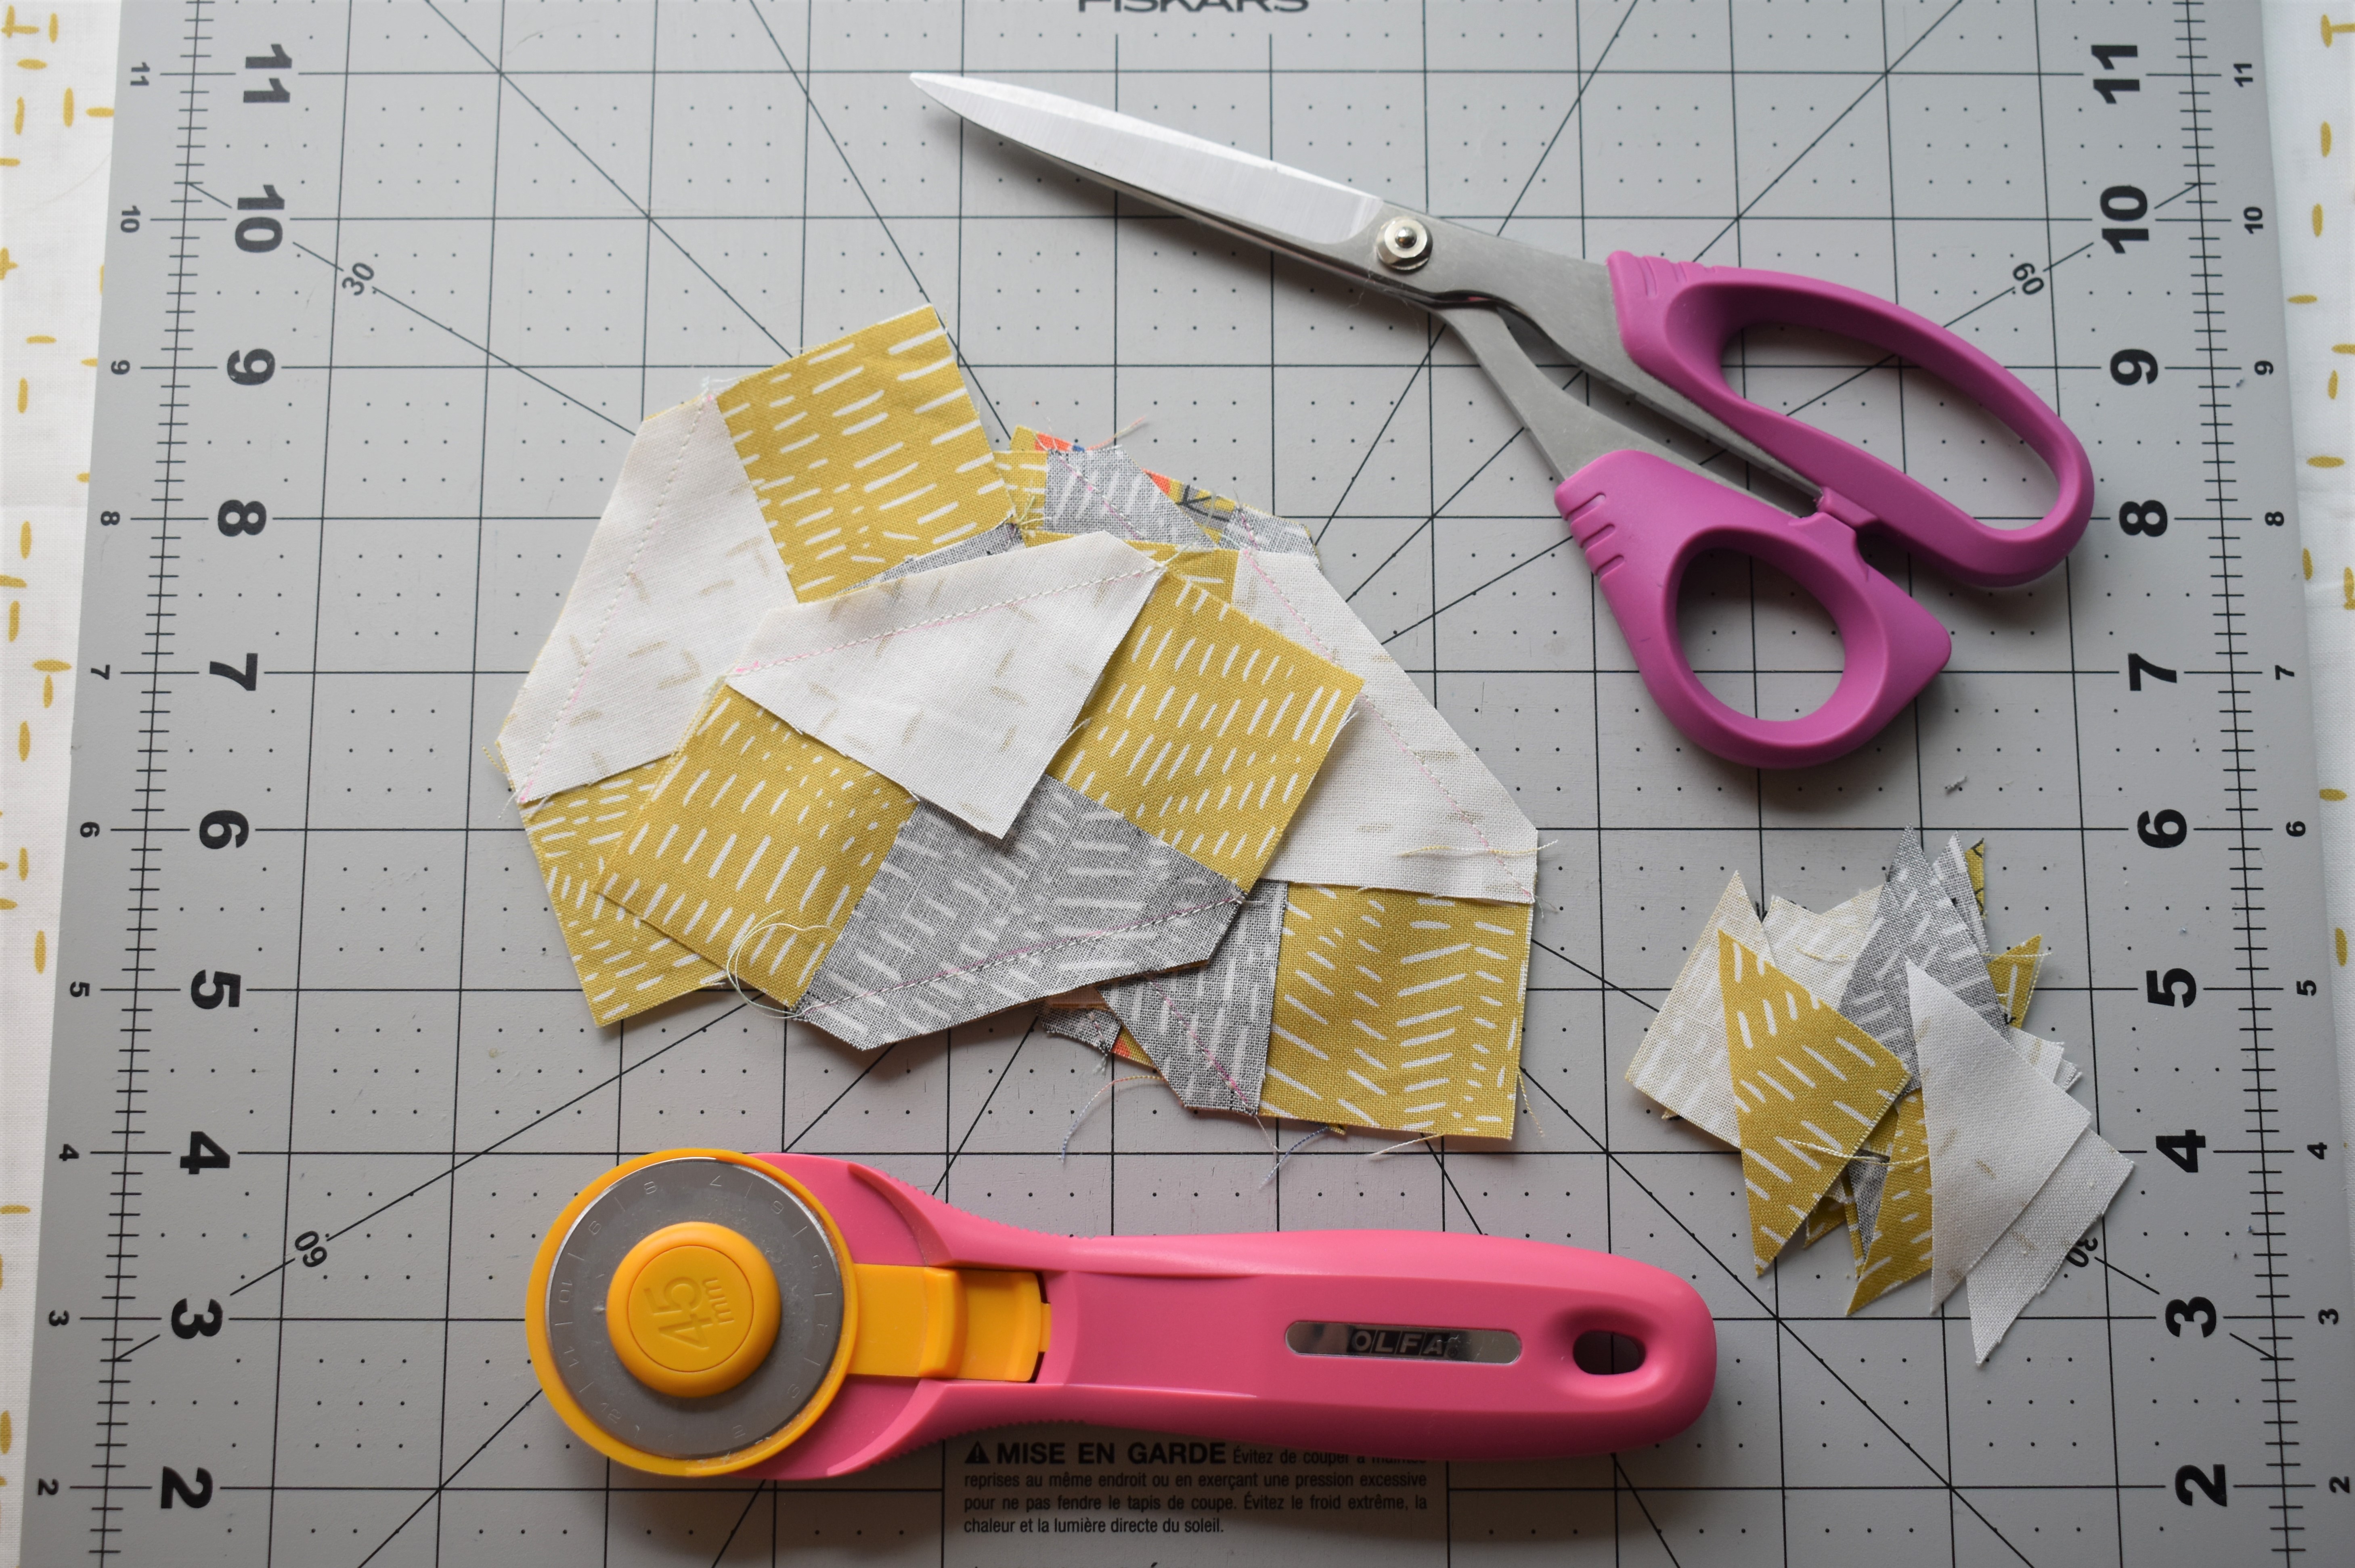
• A nice pair of fabric scissors. These are pink Havel’s Scissors! You can shop for these scissors here: Havels Sewing

Sewing for Month 2 is made easy with the Piecing Guide on Page 2 of the pattern. This month ONLY uses two methods for piecing – Stitch and Flip and HST Assembly. It doesn’t get much better than that! Here are a few tips to ensure you have a great experience with Month 2:
• For Block 3, it’s important to lay out the Fabric D/K HST units on your work station as shown. Place the Fabric N squares next tothem, wrong side up, with the drawn diagonal line visible. Having your pieces laid out before placing them right sides together will ensure that the stitch and flip methods are done correctly. If the HST unit, or the Fabric N square, isn’t oriented correctly when placed together, the arrows will not be accurate in the block.
• Additionally for Block 3, you may opt to pin the D/K HST units and the Fabric N squares together as shown. It’s important that the pieces line up precisely, and stitch and flip methods are completed with accuracy. This will make those points come out perfectly!


• There are a lot of thick seams and thick points in Block 4. I like to relax the fabrics for a flatter block with steam! I know, I know……not everyone likes working with steam. But I am a huge advocate of steam! It helps even the most stubborn seams relax and flatten.
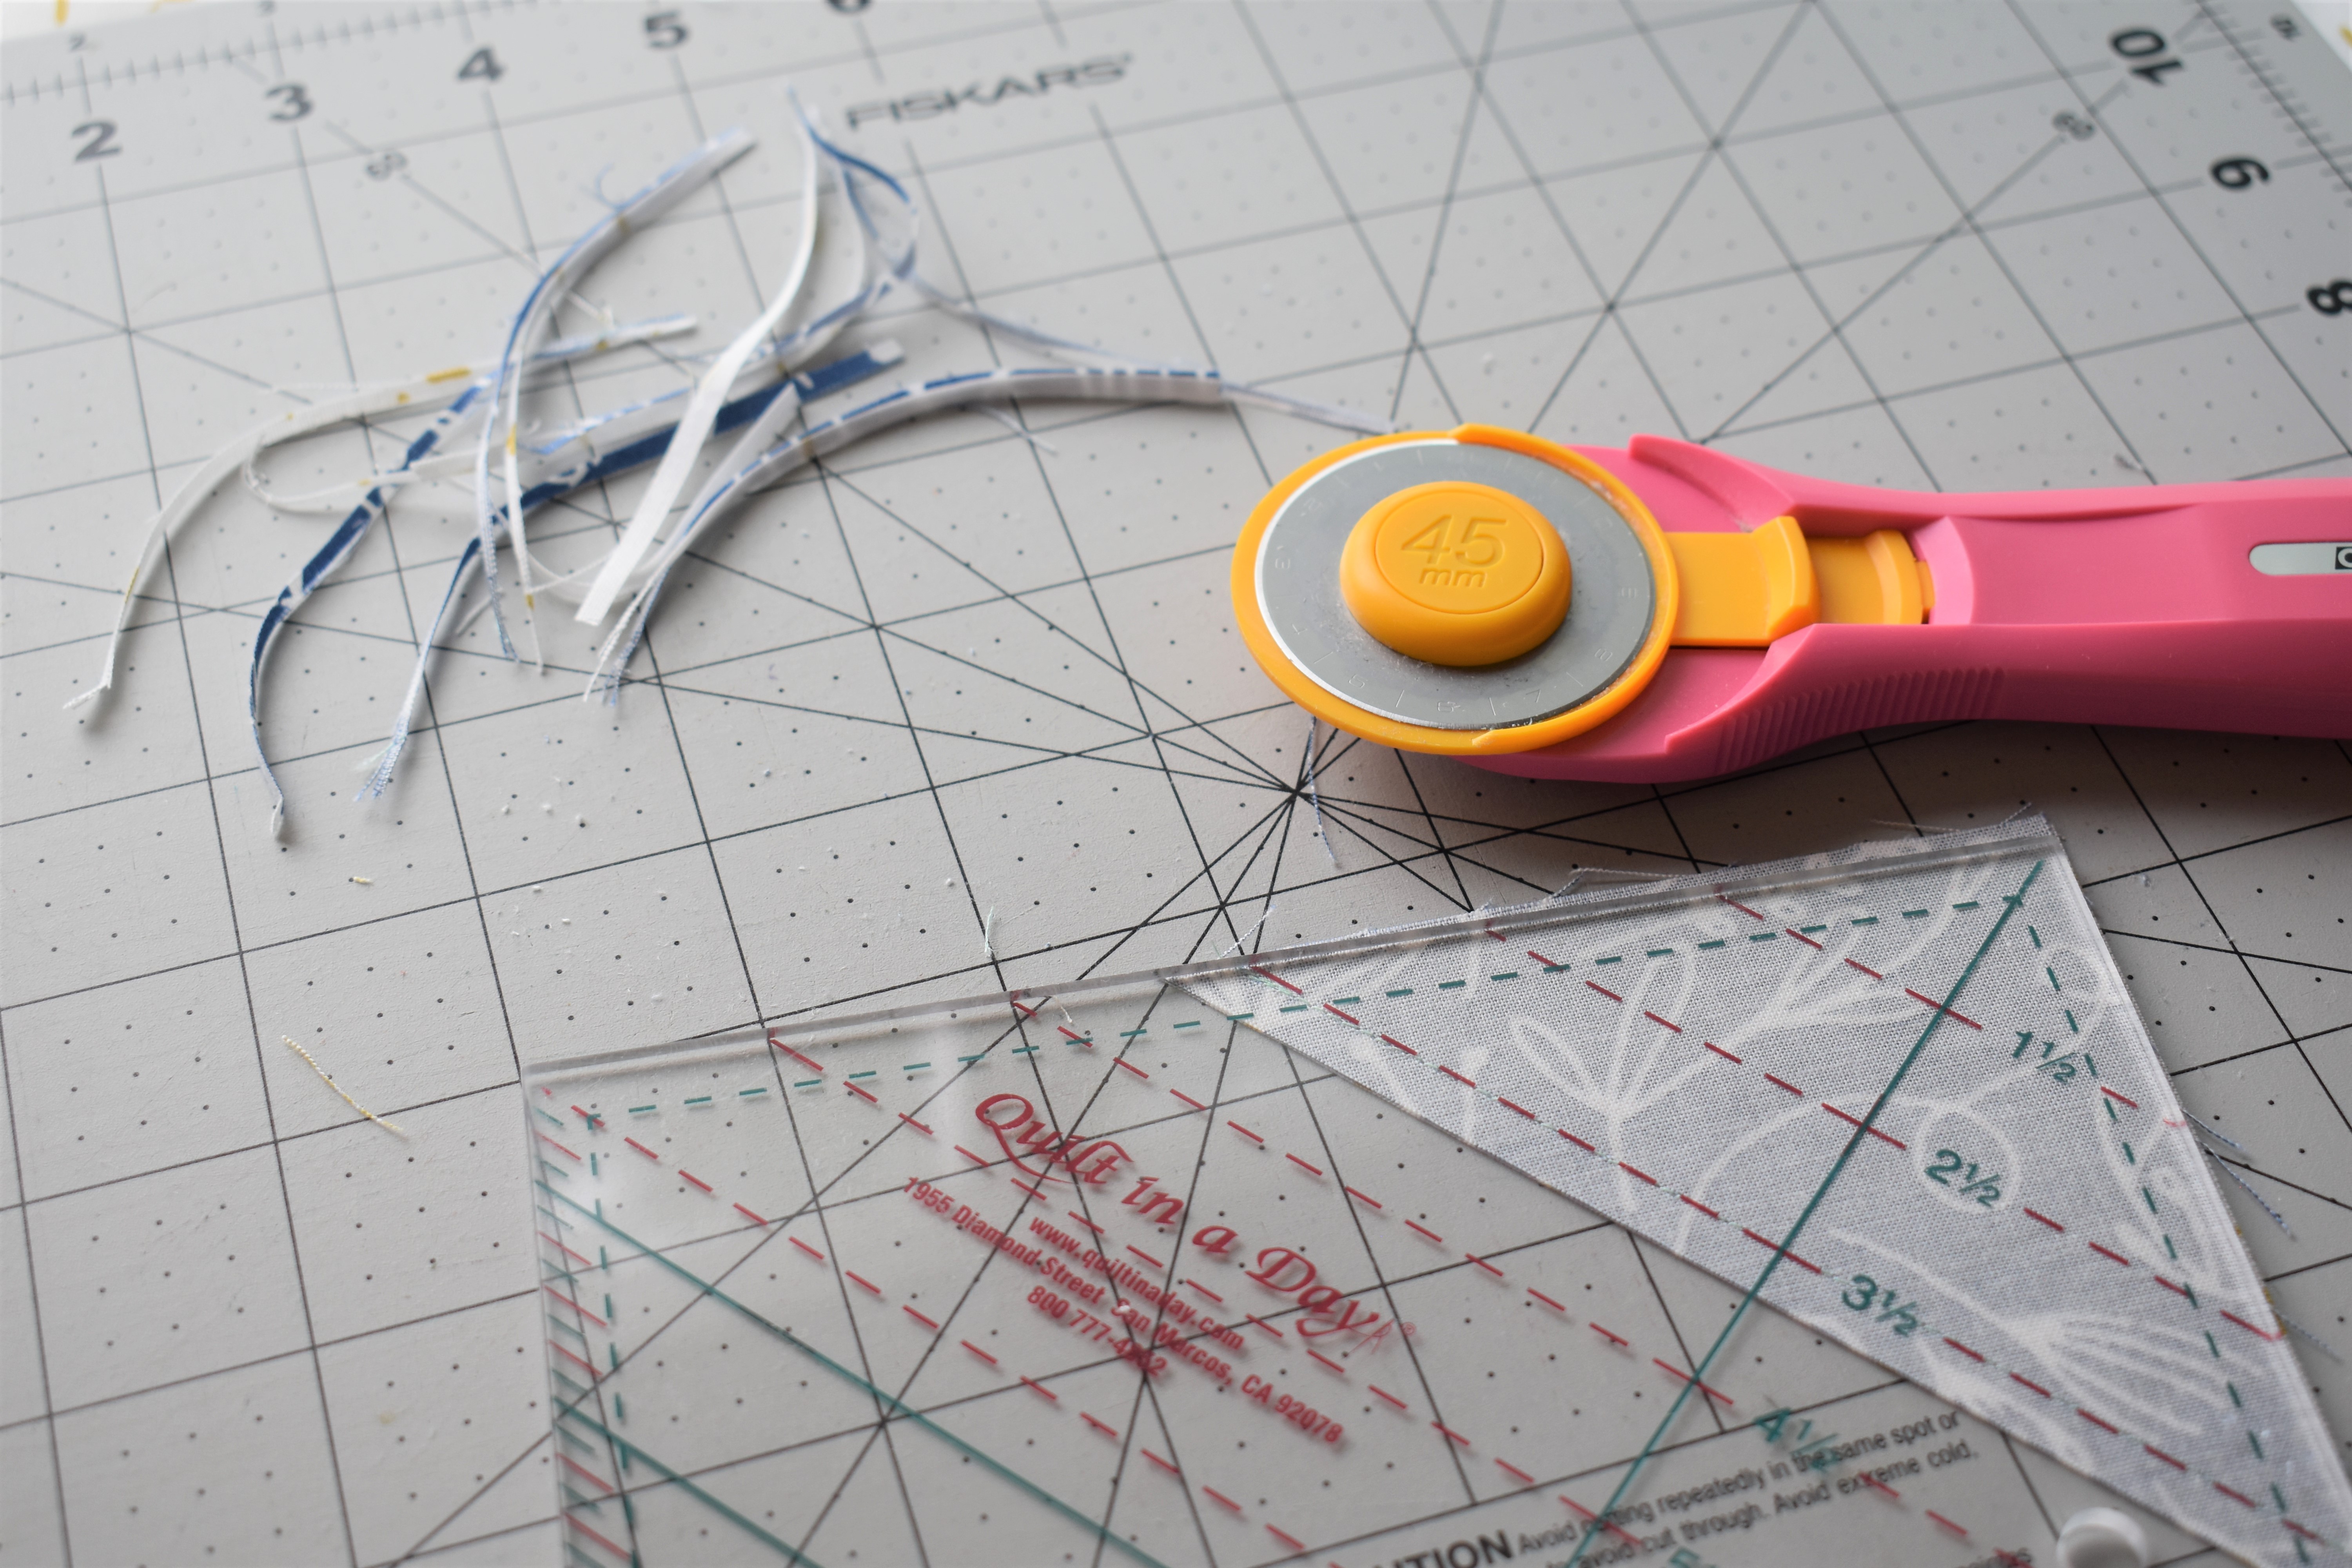
• When trimming a ¼” seam after attaching each Fabric H and Q square using stitch and flip methods, I simply use my scissors to trim. However, you have options! If you are comfortable eyeballing a ¼” seam, a nice pair of fabric scissors will do. If you are a fan or precision and consistency, a rotary cutter and small ruler will work beautifully.
• Have you purchased your Quilt In A Day Triangle Square Up Ruler yet? I strongly recommend this ruler! It creates perfect HST units every single time!
Month 2 is now complete! The mixture of colors, shapes and the lovely panel message made this a super fun, and uplifting month to create. Thank you for sewing along with us.
Stay tuned for next month as we tackle super fun blocks, and talk about the lovely panels by Stacie. Remember that there is a FREE project coming your way as well.
Take care,
Natalie
Find us on Instagram @gingibermakes. Share your work with the hashtags #gingiberbom and #wordstolivebyquilt so that we can follow along with your progress!
Questions? Contact us at [email protected]

Stacie Bloomfield
Author
My name is Stacie Bloomfield! I am the owner and illustrator of Gingiber. I have been an illustrator for 11 years and have successfully sold my artwork across several categories such as art licensing, wholesale, direct to customer sales, direct downloads, books, teaching, and more. I cannot wait to teach you how to do the same!

FREE GUIDE!
We've gathered top secret tips from industry experts with their PERSONAL ADVICE for finding your creative voice and for growing your creative business. YOU DON'T WANT TO MISS THIS!
Recent Posts